
The Facebook Event Setup Tool for Web allows you to track valuable information, such as purchases, add-to-carts, and even dynamic values from checkout pages. All you need is a Facebook Pixel code installed on the site, and you can start tracking button click or pageview based events. We’ll walk you through how to streamline event installation on a website without the frustration of manually installing event codes.
Getting started with Facebook Event Setup
Start by installing a Facebook pixel on your website. Installation can be done a couple of ways, but typically you install it manually on the site or go through partner integration. Once you complete the pixel setup, you are ready to create Facebook Events with the setup tool.
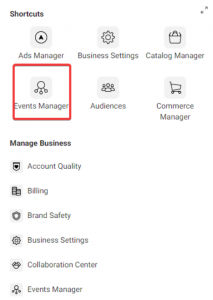
Go to Events Manager from your Facebook Business Manager.
In Events Manager, select the pixel you created. Go to the pixel settings tab, and select the Event Setup Tool.
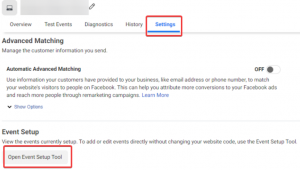
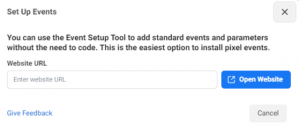
From here, you will be prompted to enter the URL for your website and then click “Open Website.”
Creating events in Facebook Events Setup
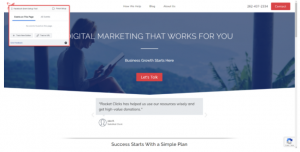
Once the setup is complete, your website will load. A box opens in the upper left corner of your browser (make sure you pause your ad blocker). This is where you will start creating Facebook events based on button clicks or URLs.
After you decide the type of event you want to track, the tool will prompt you to do a couple of different steps based on how the user interacts with the site.
For button click-based events, the tool will highlight all clickable buttons on the selected page.

Once you select the button you want to track, you will be prompted to choose what type of event that button click represents. There are about 17 different events to choose from.

Click the “Confirm” button after you’ve selected the event. You have completed your first button event set up with the tool.
For URL-based events, the tool will prompt you to select an event from the dropdown menu and set up formatting for the specific page you want to track.
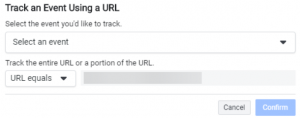
After you select an event from the dropdown, click the “Confirm” button. You have completed your first URL event set up with the tool!
Testing Facebook Event Manager
Once you complete the event tracking set up, test to see if the events are working properly. A great way to do that is within the Events Manager. Select your pixel and go to the diagnostics tool.
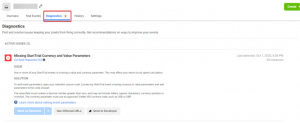
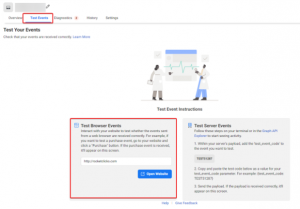
This will show you any errors impacting the pixel and event tracking. You can also visit the “Test Event” tab, which will open your website and allow you to test events on the site.
Now that you created and tested your events, you are ready to measure social performance by tracking valuable customer interactions on your website.
Additional Resources:
Video setup walkthrough
Troubleshooting