
Title tag split testing is a cornerstone of ongoing organic search optimization. While title tags are a very small piece of the SEO pie, they can have a disproportionate impact on rankings – and therefore traffic.
The outsized influence of title tags is primarily due to a couple of factors.
First, a title tag that is optimized for CTR may make your site stand out among competitor sites – even those ranking above you – because it’s attempting to speak to the searcher’s intent. This can lead to a higher number of clicks than you might expect.
Second, research has shown that CTR is – at least indirectly – a ranking factor in organic search. So, if you rank in the #4 spot but consistently get more clicks than the results in the #2 and #3 spot, your odds of leapfrogging them become pretty realistic.
Measuring Your Split Test
The point of this blog post isn’t to get into the weeds about how to optimize your title tags for CTR (Ahrefs has a killer post on that already), but it will help you measure the effectiveness of your efforts in a (somewhat) scalable way.
Disclaimer: If you’re doing larger split tests (anything over 10 title tags at a time) this dashboard may not be for you, because it can get tedious after a while. Otherwise, it should be pretty easy to set up if you follow the instructions below.
To accomplish this, I developed a clean, straightforward Google Data Studio dashboard. This dashboard aims to provide you with all the information you need to determine whether your title tag split test was a success or a failure.
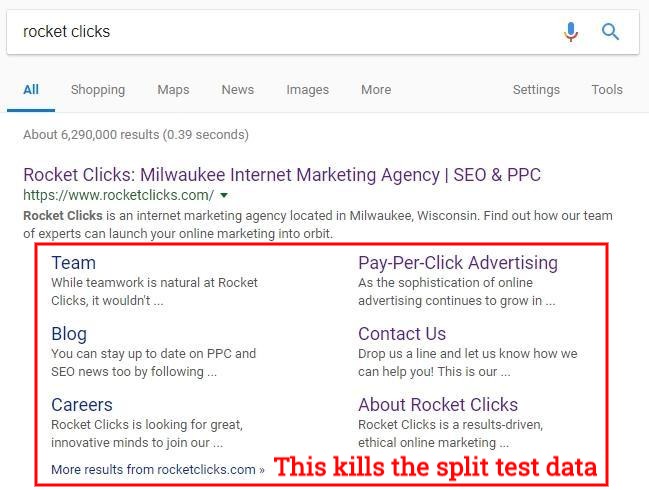
The data includes aggregate CTR change for the URL, as well as CTR change broken down by top queries based on impressions. The query breakdown is important because you should be basing success or failure on the keywords that matter most for that particular page. For instance, if your test page is showing up as a sitelink, your shiny new title tag won’t appear, so CTR for that query shouldn’t be factored in.
Finally, I wrote this blog post assuming most of you reading it will have a basic understanding of how to use Data Studio. If you’re totally new to it, check out Distilled’s beginner’s tutorial first.
Now, let’s get into it.
Instructions
- Open up the CTR testing dashboard and make a copy (you’ll have to be signed into a Google account to create and save your own copy)
- Note: Don’t change your data source via the dialog box that pops up immediately after you choose “Make a copy of this report” unless you know which of your existing Search Console data sources is based on URL impressions.
- Before changing anything, make note of the dimensions and metrics for each chart/graph, since they may break when you swap in your data source.
- In the main menu, go to File > Report Settings and replace the [Sample] data source with your Search Console data source
- Note: If you are creating a new data source, choose the ‘URL Impression’ option in the ‘Tables’ column.
- Use the ‘URL’ filter control at the top left corner of the report to find the URL you’re interested in
- Note: If you’re a more advanced Data Studio user, you can change the URL filter control from ‘List’ to ‘Search All’ under the ‘Style’ tab. This allows you to use RegEx and other search techniques to get the URL or group of URLs you’re interested in.
- Fill out the rest of the information in the left sidebar of the dashboard (Previous Title, New Title, etc.)
Things to note
- The dashboard is configured by default to compare the most recent two weeks to the previous period. The ideal date range will be up to you, but the start of your date range should be either the day you changed the title tag or the day Google indexed the new title tag. You can select a new date range using the ‘Date range’ picker at the top right.
- If you’d like to expand this dashboard to multiple pages, simply duplicate the page by selecting ‘Duplicate page’ under the ‘Page’ menu. When you do this, make sure you adjust the URL filter control for each subsequent landing page.
- The percentage change for CTR in both the ‘CTR Change’ box and the query table is set to show absolute change (or percentage points) not the proportionate percentage change. For example, a change from 1.3% to 1.5% CTR would be a positive change of 0.2 percentage points (or 0.2%), not a proportional change of 15.4%.
- It’s best to set this up the day you are launching your split test so all the relevant information is fresh.
There you have it. Hopefully you find this useful and it encourages you to test more often.
If you have any questions or hit any roadblocks, let me know in the comments below.
Happy testing!


Thanks Casey, Good post! I’ll be adding it to the Google Data Studio Resources guide today! http://bit.ly/2PXHhUw