


Bing Ads Agencies makes it easy for advertising agencies to manage multiple Bing Ads accounts. But that does not mean a new account should be created under a Bing Ads Agency.
Why You Shouldn’t Use A Bing Ads Agency Account:
Bing Ads Accounts Created in a Bing Ads Agency Cannot be Transferred
Once an account has been created under a Bing Ads Agency, it is forever linked to that Bing Ads Agency. There is no way to transfer ownership to someone else. Bing Ads Technical Support can transfer the Campaigns, Ad Groups, Ads and Keywords over to a brand new account, but they will not be able to transfer the account’s data (impressions, clicks, cost, etc). So if a client decides they want to take over management of their Bing Ads account, they will lose all the historical data they’ve accumulated.
Delinquent Accounts Can Affect Other Accounts in the Bing Ads Agency
If you have multiple accounts that are not up-to-date with their payments in an Agency account, it could affect turning on other accounts in the Agency account. Even though they can have separate credit cards between them, the Agency is the one financially responsible for any accounts created in the Bing Ads Agency. This could put the Bing Ads Agency on the hook for payments never paid by old clients that are long gone.
To avoid these issues, agencies should always create Bing Ads accounts separately from their Bing Ads Agency. By creating the accounts separately, it allows the Bing Ads Agency to easily unlink accounts, if the need arises.
Linking Bing Ads Accounts to Your Bing Ads Agency
Here is a step by step breakdown on how to create Bing Ads accounts, then link them to your Agency account:
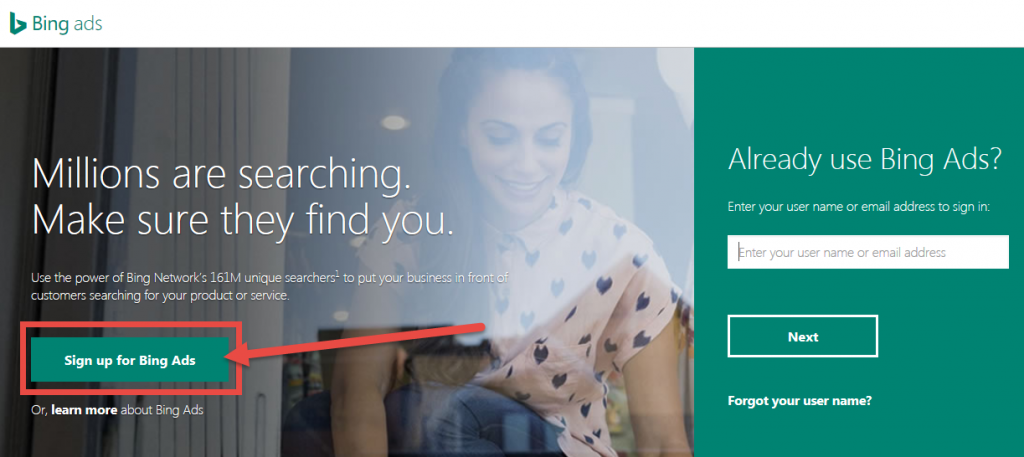
1. Go to ads.microsoft.com to set up a new Bing Ads account. Be sure you are not logged in through your Bing Ads Agency account.

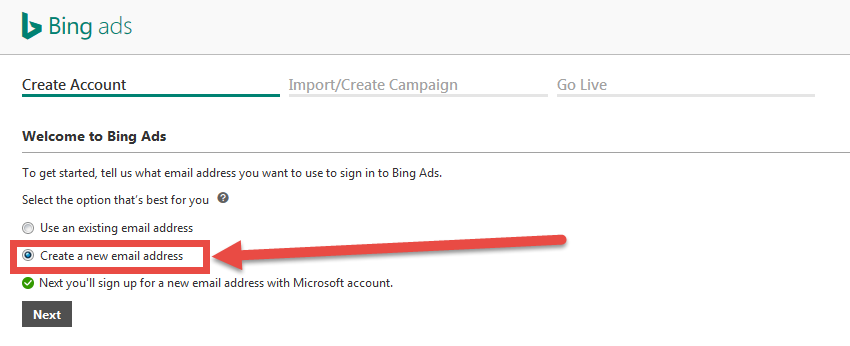
2. Select to create a new email address for Bing Ads.

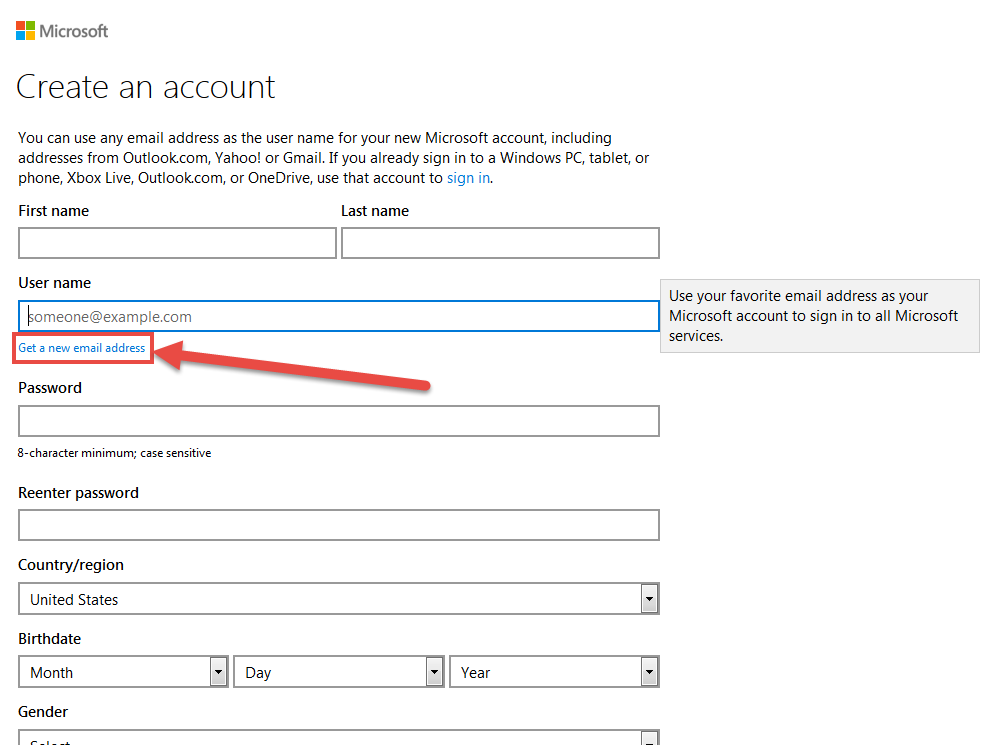
3. Create the account but select “Get A New Email Address”. This will allow you to create a hotmail.com or outlook.com email address. Keep a copy of all information used to create the account. If a client wants to take over the account, you can give them all this information.

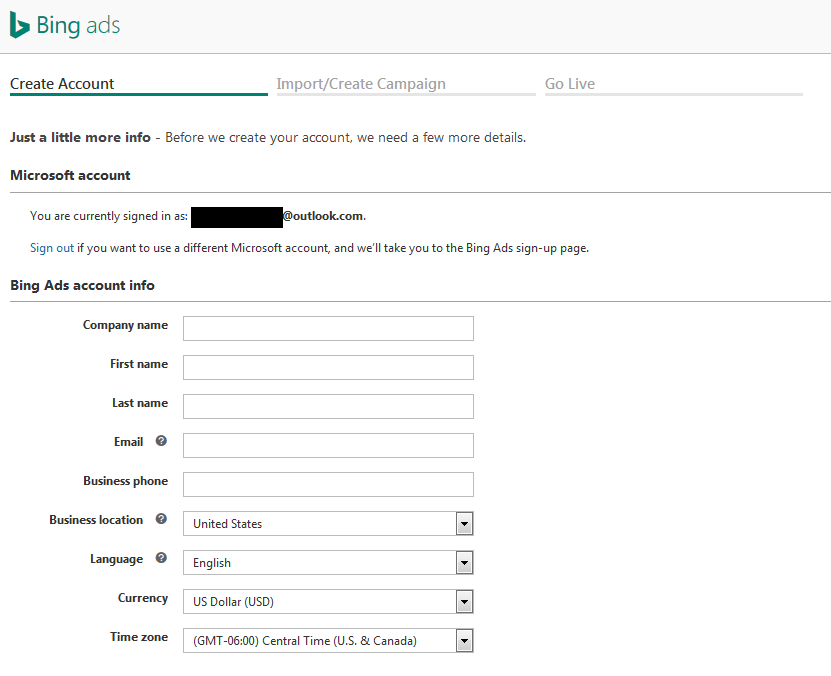
4. Fill in the remaining information for creating the account.

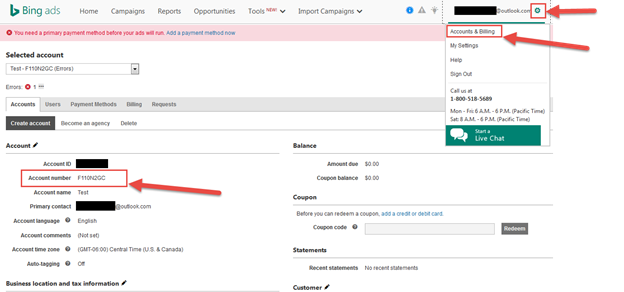
5. Once the account is created, select the Settings gear icon in the upper right corner. Then, select “Account & Billing.” This will take you to the Account & Billing Page which will give you the new Account Number.

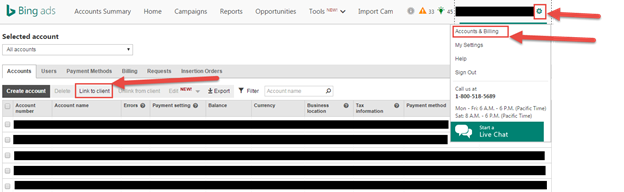
6. With the Account Number in hand, log in to your Bing Ads Agency account. Select the Settings gear icon in the upper right corner. Then, select “Account & Billing.” There will be a “Link to Client” option.

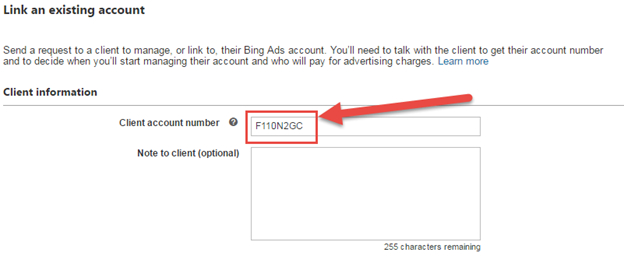
7. Enter the Account Number.

Now if you ever need to unlink from a client you can easily do so. Plus the master login credentials can be given to the person taking over the account without losing months or years worth of important data. By creating the account separately from your Bing Ads Agency account, any financial concerns or transferring issues are avoided.
Have questions for us? We’d love to hear from you. Reach out to us on Twitter at @RocketClicks or contact us directly.